Running Debian (Raspberry Pi OS) from an SSD on a Pi is the fastest way to get a stable, responsive system — perfect for servers, containers, or embedded projects. This guide walks you through a fully headless setup, using only a PC and your Pi.
🧰 What You Need
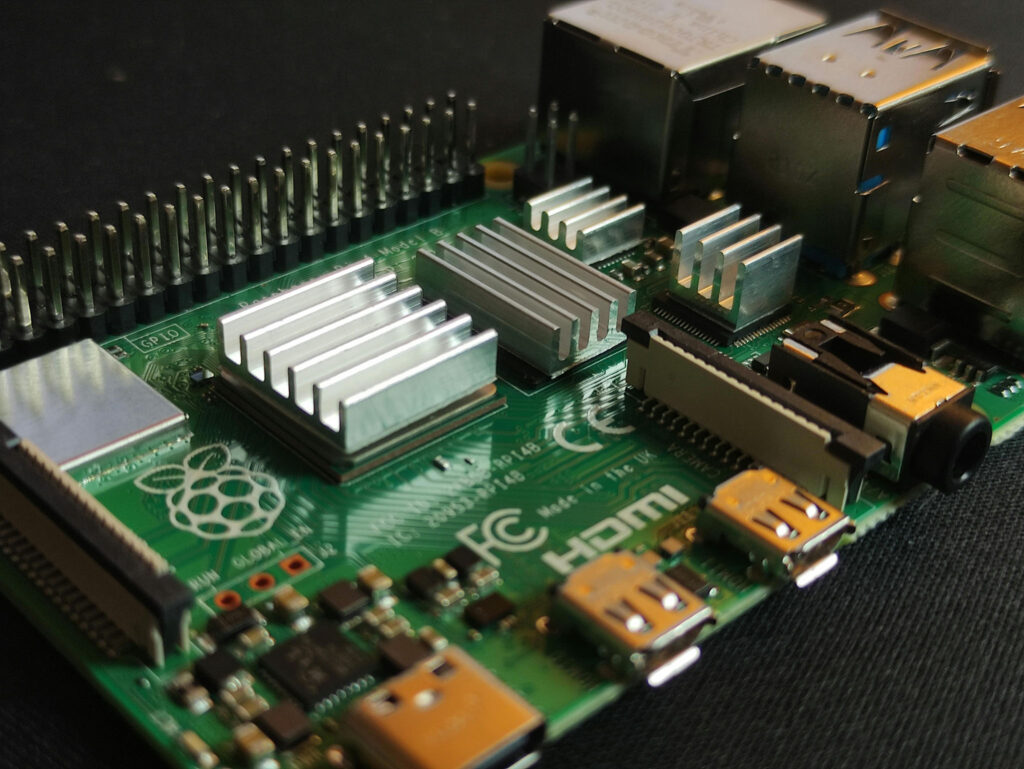
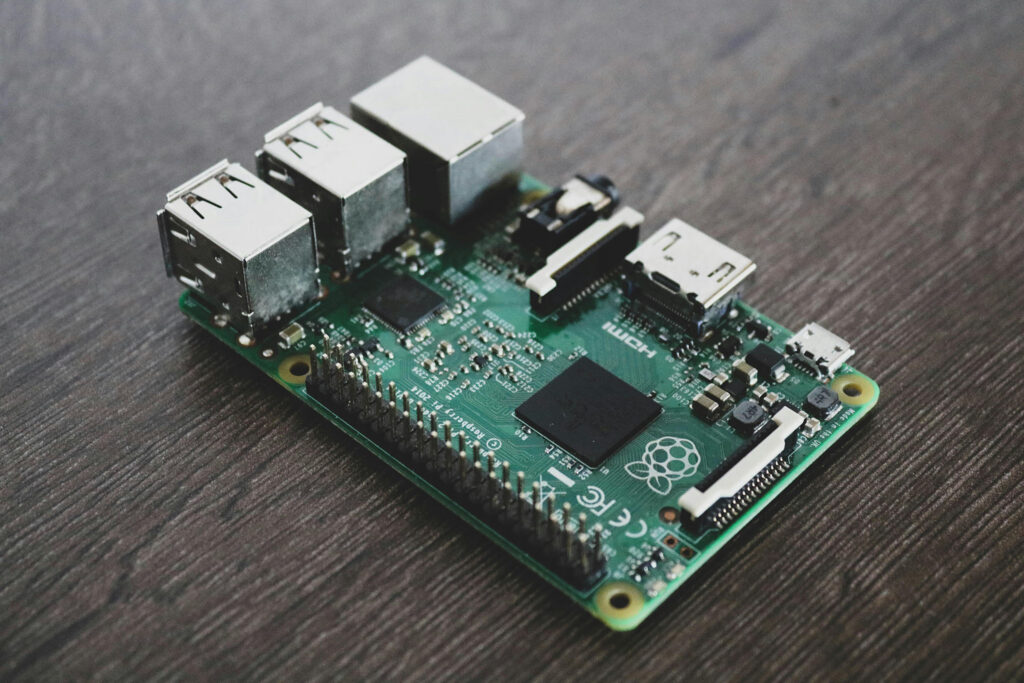
- Raspberry Pi 5
- NVMe SSD + adapter (M.2 HAT)
- microSD card (used temporarily)
- Raspberry Pi Imager installed on your PC
- Network access (Ethernet or Wi-Fi)
1. Flash Raspberry Pi OS to microSD
On your PC:
- Open Raspberry Pi Imager
- Choose:
- Raspberry Pi OS (64-bit) — based on Debian Trixie. This is important! Lite version of Raspberry Pi OS we will be running on the SSD does not have all the packages installed needed to flash image to SSD. You will spend plenty of time installing all the dependencies. If you flash full Raspberry Pi OS, flashing the Lite image on SSD will be z breeze
- Set all the custom settings like:
- Set hostname
- Enable SSH
- Set username/password or SSH key
- Add Wi-Fi credentials (if needed)
Write the image to your microSD card.
2. Save Configuration Files
Before inserting the microSD into the Pi, mount it on your PC and copy these files from the boot partition:
firmware/cmdline.txtfirmware/network-configfirmware/user-data
These contain your SSH, Wi-Fi, and user setup — you’ll reuse them for the SSD.
3. Boot Raspberry Pi From microSD
Insert the microSD into the Pi and power it up.
Wait ~60 seconds, then SSH into it using the hostname or IP you configured.
4. Download Raspberry Pi OS Image on the Pi
SSH into the Pi and run:
wget https://downloads.raspberrypi.com/raspios_lite_arm64/images/raspios_lite_arm64-2025-12-04/2025-12-04-raspios-trixie-arm64-lite.img.xzThis downloads the latest Debian-based Raspberry Pi OS image.
5. Verify SSD Is Detected
Check that your SSD is visible:
lsblk -fLook for something like nvme0n1. If it’s missing, troubleshoot power or adapter issues.
6. Flash OS to SSD
Use Raspberry Pi Imager (CLI version) to write the image to the SSD:
sudo apt install rpi-imager
sudo rpi-imager --cli 2025-12-04-raspios-trixie-arm64-lite.img.xz /dev/nvme0n1This will take a few minutes.
7. Copy Configuration Files to SSD
Mount the SSD’s boot partition:
sudo mkdir /mnt/nvfat
sudo mount /dev/nvme0n1p1 /mnt/nvfatCopy the saved files:
sudo cp cmdline.txt network-config user-data /mnt/nvfat/firmware/This ensures your SSD installation boots with the same headless setup.
8. Shutdown and Boot From SSD
sudo shutdown nowRemove the microSD card and power the Pi back on.
If all went well, it will boot directly from the SSD — headless, fast, and ready to go.
✅ Done
You now have a Raspberry Pi running Debian from an SSD — no monitor, no keyboard, no SD card bottlenecks.
Perfect for:
- Home servers
- Docker hosts
- CI/CD runners
- Embedded projects
- Anything that needs real I/O performance
")


